Sunday, November 13, 2016

Homemade Hummus

I've been making this hummus for years and now it's time to share.

Hummus


Ingredients:
2 cans garbanzo beans
1/2 cup extra virgin olive oil
1/4 cup lemon juice
1/4 cup tahini (sesame paste)
1/4-1/2 c water
1 T minced garlic
1 tsp cumin
1 tsp paprika
1/2 tsp salt
1/2 tsp ground red pepper or 1/4 tsp cayenne

Put all ingredients in a blender or food processor.


Puree until smooth, adding water to achieve desired consistency.


We serve our hummus with cheese, summer sausage, an assortment of vegetables (carrots, celery, cucumber, tomato, bell peppers), alfalfa sprouts, and a grain (Triscuits, French bread, pita, toasted tortillas, homemade wheat bread).


My favorite is spreading the hummus on my homemade whole wheat bread, topping it with alfalfa sprouts and garden tomatoes. A filling, but light dinner, perfect for summer! All five of my kids love eating this hummus. My babies yell at me for not spooning it into their mouths fast enough. My two-year-old squeals and dances with glee when she sees the hummus.

*recipe adapted from Budget Bites

Thursday, November 10, 2016

Crockpot Granola

I almost feel lazy doing this kind of blog post, but I also detest those bloggers that want to write their whole life story and background on why folding laundry is difficult for them, only to finally give me the dang recipe.

So here it is, straight and simple:

Crockpot Granola


Ingredients:
5 cups old-fashioned rolled oats
1/2 cup slivered almonds
1/4 teaspoon salt
2/3 cup honey
1/3 cup coconut oil or butter (or any oil that you want)
1/2 cup chunky peanut butter
2 teaspoons cinnamon
1 tablespoon vanilla
1 cup raisins and/or craisins

Spray your crockpot with cooking spray, then add in the oats, almonds and salt.


In a pan over medium heat, melt together the honey, oil, peanut butter, and cinnamon.


Remove the pan from the heat and add the vanilla, then pour the mixture into the crockpot, stirring to combine thoroughly. Put the lid on the crockpot, leaving a crack for venting. Cook on HIGH for 2 hours, stirring every 20-30 minutes. Be sure to scrape the bottom and sides to prevent burning. When it's done, stir in the dried fruit. The recipe says to the pour the granola out on trays to dry over night. Sometimes I do that, other times I leave it in the crockpot and stir periodically if I remember. Then I just pour it into my cereal container in the morning. Works for me, and no extra dishes.


People used to the conventional oven method of making granola have asked me why bother making it in the crockpot when their oven method doesn't require them to melt ingredients first. I don't know. I haven't tried your oven method or your particular recipe. But what works for me is that I can make a double batch of this recipe in my crockpot, yielding 16 cups of granola. I can't do that in my oven. Either method requires periodic stirring. The crockpot allows me to stir without opening my oven and stooping to stir, or otherwise pulling the pan out to stir and put back in the oven. I don't have to worry about keeping my kids out of the way for constantly opening the oven. I have two large crockpots and can make two types of granola at the same time, while baking dinner in the oven if I want to. Or I can have granola cooking in one crockpot while yogurt heats in the other. Basically, I just like employing my crockpots.

Tuesday, August 30, 2016

Summer Science

People are always interested in what I do for homeschooling, especially when I say that we haven't even started any curriculum yet. We read, talk, play and explore. This summer we picked off my Science board on Pinterest and had loads of fun. Simple activity: pour baking soda into a cake pan (or a high chair tray), dye white vinegar. Simple, easy, cheap. I already had the droppers.


Little scientist at work! Or play :)


Thora tried eating the baking soda. She didn't like it at all, but that still didn't stop her from trying it about 5 more times.


When Dancy was done, I had fun pouring the vinegar out into her pan.


Tom and Katie got artistic with their pans. Tommy made a moonscape.


Katie made a volcano.


* * *

Science activity #2: Magnifying glasses.

Inspired by Sid the Science Kid on Netflix, I bought the kids magnifying glasses at Dollar General. Hooray for $1 science tools, because that's all they need at this age. We can invest in higher quality items later.

And then we took them with us for a walk to the library. Oh, the wonders they found magnifying everything along the way, as well as inside the library! On the way home, we collected things for them to bring to the table to continue being scientists while I made lunch.


And when they had questions, they asked questions. And if I didn't have answers, we googled them. 

Friday, June 17, 2016

Breastfeeding Wardrobe

I didn't even think about this as a post topic until a couple weeks ago, talking to my husband's cousin in Utah. She and I were both breastfeeding our babies and she made the comment that she doesn't know how I can do it the way I do. I asked her what she meant. She explained that when she pulls a shirt up to feed her son, it leaves her back exposed, which is why she sewed her own special feeding cover. 

So here it is, my method of dressing to stay covered: I discovered crop tops.

It started with a white modal halftee from halftee.com. But when I wanted to order more, I couldn't get the customer service I needed, so I found crop tops on Amazon. Now I've got black, gray, teal and coral to go with my original white halftee. Dressing is relatively simple--I just make sure that my outer shirt is one that allows me to get a boob out of the top. Then I just need to pull the crop top up, the outer shirt down, and baby and I are good to go.


When I first tried the halftee while breastfeeding my last baby, it was uncomfortable. Not the halftee itself, but combined with a nursing bra and the extra weight of breastfeeding, I had such shoulder and back aches and pains. This time around, I've got a confession--I don't wear a bra. The crop tops provide enough coverage and support, and it is so comfortable! Also, much easier than having to work clasps with one hand and while holding a wiggly baby in the other.

Thursday, June 16, 2016

Chia Overnight Oatmeal

Overnight oatmeal is such a quick, easy meal to mix together the night before. I love this one for myself because of the chia seeds. The texture is weird to my kids, and they prefer their applesauce oatmeal.

Chia Oatmeal 
 

 Ingredients:

 1/4 cup milk 
 1/4 cup yogurt 
 1/3 cup oats
 2 teaspoons chia seeds 
 1 teaspoon honey
  2 T fruit

 I do 12 times the recipe when I mix mine up. So that math comes to:
 3 cups milk (or 3 cups water plus half cup powdered milk)
 3 cups yogurt
4 cups oats 
 1/2 cup of chia seeds 
 1/4 cup honey 
 1-12 ounce bag frozen fruit

Mix everything together in an airtight container. Put it in the fridge overnight. The oats will absorb the liquid and be soft and edible in the morning. You can eat it cold but I prefer mine warm.

Applesauce Overnight Oatmeal

My kids LOVE this recipe, and I love its simplicity! It takes me 5 minutes to mix it up at night to have an easy, healthy breakfast in the morning.

Applesauce Overnight Oatmeal

Ingredients:

1 cup oats (I've tried quick and old-fashioned)
1 cup applesauce
1 cup milk (or 1 cup water + 1/6 c powdered milk)
Cinnamon to taste

Stir all ingredients together in an air-tight container. Store in the fridge overnight.
*I am all about giving credit where credit is due, but for the life of me, I can't find the original source for this recipe.*


To serve, we warm ours a little in the microwave and add raisins. When I mix up a batch, I do four times the recipe and we eat it two or three days in a week.

Friday, June 10, 2016

Homemade Yogurt

Okay, before getting into the method of making yogurt, let me first explain the use of an oven in this process. At the end of the whole process of making yogurt, you incubate it in the oven overnight (or for 8+ hours during the day like I am right now) WITH THE LIGHT ON. No heat, just crock in the oven with the light on to maintain warmth.

Well I got a new *used* oven in December when my old one started sparking when I turned on the light. Not good for my yogurt. Unfortunately, this oven (that I bought from someone in town who posted it on facebook) doesn't have a window, and thus, doesn't have a light switch. So after a few weeks of not knowing what to do about that and I finally had a bit of a pregnant emotional meltdown needing my yogurt breakfasts back (store-bought yogurt just isn't good anymore), my husband got creative for me.

He drilled a hole in the lining of the door to allow the rod controlling the light to pass through. When the rod passes through the hole, the light doesn't turn off.


And when I'm not needing the oven light on (any time I'm not making yogurt), we plug the hole with a cork, purchased at our local hardware store.


Hooray for a MacGyver husband and hooray for making yogurt again! And simple breakfasts and sanity returned!

So then, here it is (as learned from Girls' Guide to Guns and Butter, which I am sad to learn no longer exists! But give credit where credit is due.):

1/2 gallon milk (as fresh as possible! Not close to expiration date!)
2 T yogurt

Boom! It's that easy. (Did anyone else say that in Crazy Russian Hacker's voice?)
You'll need to buy the yogurt the first time, but then you can save 2 tablespoons from the old batch every time you make a new batch. I only ever buy yogurt now if I forget to save some to start the new one. Also, I have tried this with full fat cow's milk, and soymilk. I've been making soy yogurt for my family for almost 3 years now. I haven't tried any reduced fat milks because Girls' Guide said not to. She's Albanian or Armenian (can't remember which) and grew up making yogurt because you don't buy it in a store there. So I'll take her word for it. One more note and then I'll continue: I make a double batch and it works just fine for me. We go through it pretty quickly and even when we don't, it still last several weeks.

*I always start this early in the morning, just any time before lunch.* Pour your milk into a crockpot and heat it to between 180 and 190 degrees. Girls' Guide said you have to do this to kill certain enzymes that prevent the good bacterial growth, but if you go hotter than 190 you fail. In my crockpot, it takes 2.5 hours on high. I also have a digital crockpot with probe thermometer, so I don't have to monitor it. It just beeps when ready.


Once your milk has been heated to the right temperature, it needs to cool down to between 105 and 111 degrees. The amount of time that takes varies so much, depending on what your room temperature is, and whether you leave the lid on, off, or cracked. Sometimes I need it to cool quickly, so I leave the lid off. That usually means I'll have a dried film on top of the milk that needs to be skimmed off, or pulled off with clean fingers. If I'm not in a rush, I'll leave the lid on and check it several hours later. If you go cooler than 105, I've still been successful with my yogurt when I heat it back to between 105 and 111 degrees. Yesterday's yogurt was pretty much a fiasco. It should've been done this morning, but didn't get into the oven to incubate until this morning. Ugh! We'll see how it turns out.


After heating and cooling the milk, it's time to spend 5 minutes prepping the milk for incubation. If there's a film on top, scoop it off before proceeding. 

Scoop 2 cups worth of milk from the crockpot. (I never measure this anymore. I just dip Will Smith in and call it good.)


Add your 2 T yogurt to the reserved milk. (Mine is 1/4 cup because I double the batch)


Combine the yogurt in the warm milk with a whisk. ***Now here's something important! Girls' Guide says it is suuuuuper important not to stir in a circular motion. When doing yogurt or cheese (anything curdling milk), you must stir SIDE TO SIDE and UP AND DOWN. I don't remember her explanation, again, I just trust that she knows her stuff. She was born doing it.

Once the yogurt is combined in the reserved milk, pour the milk back into the crockpot and stir. SIDE TO SIDE and UP AND DOWN. Say it with me!


Then put the lid on the pot, put a kitchen towel over the lid, remove the crock from the heating element of the slow cooker unit, and place it in the oven overnight. Oven off, light on. Seriously, the light is ESSENTIAL. I've failed my yogurt a number of times by forgetting to turn the light on.


It sounds complicated, but I promise you, it's not. It's really very simple, and takes 5 minutes of my time. We love this stuff and I really wish Girls' Guide was still active because she explains it so much better.

Fast forward 8 hours--my kids LOVE having warm yogurt for breakfast! It will be warm still when you pull it out of the oven in the morning. It's delightful, and when I was pregnant this last time, I had a serious aversion to anything cold, so warm yogurt days were the only times I got to have my yogurt parfait with 
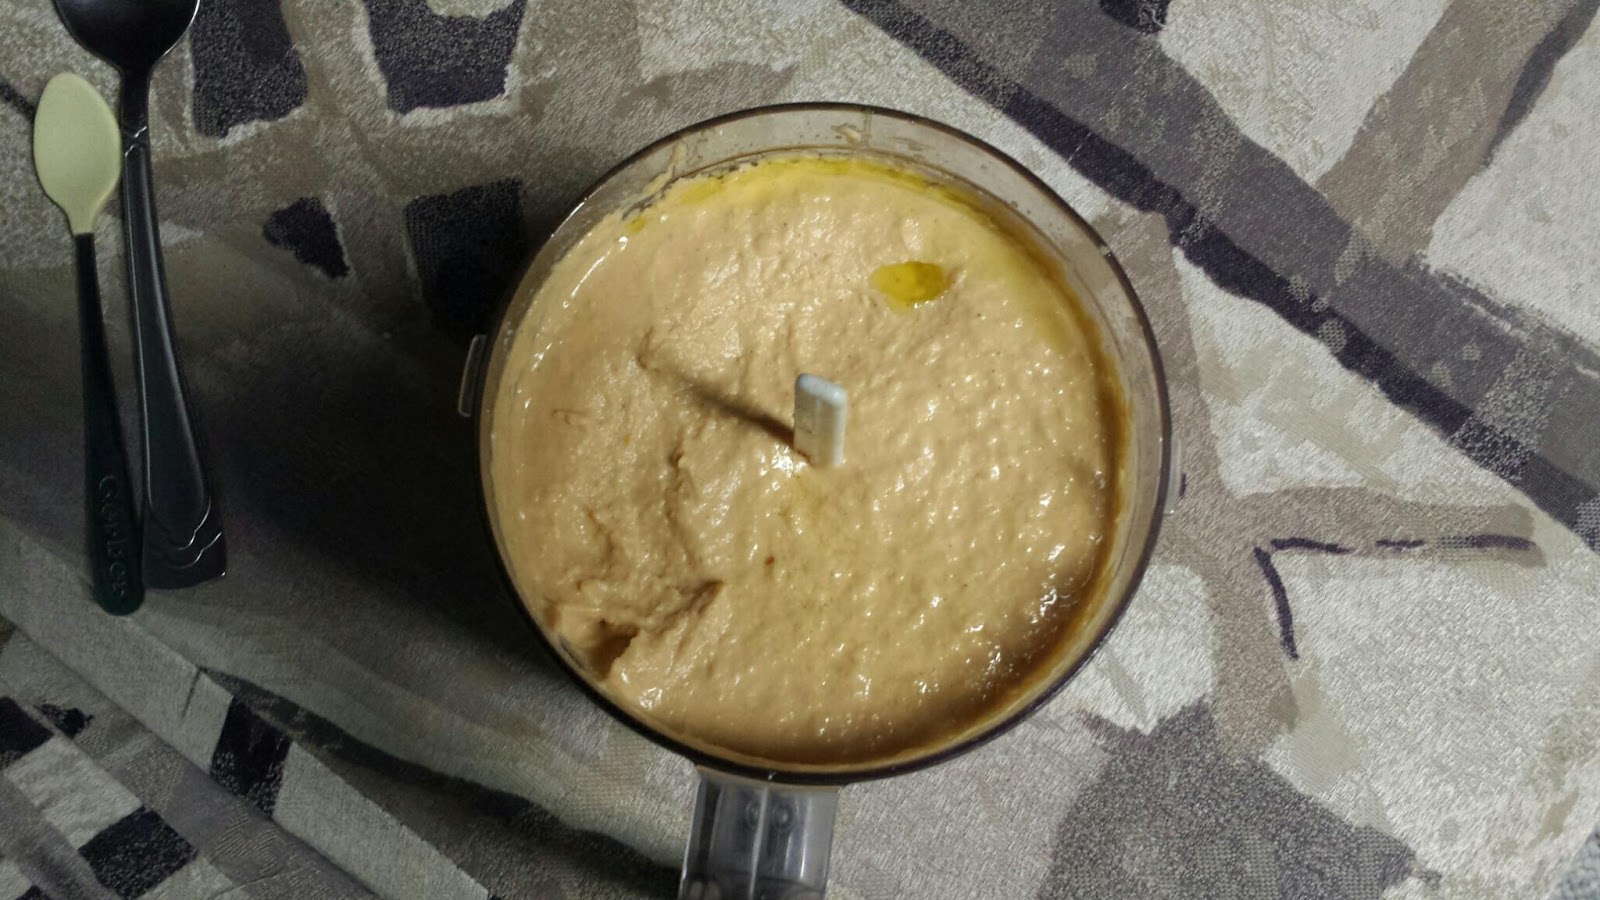
crockpot granola. Anyway, the longer the incubation time, the more tart the yogurt will be. It's quite sweet with a shorter (but still at least 8 hours) incubation time. It will possibly have a yellowish liquid floating on top of the thickened yogurt. 


That liquid is the whey. You can stir it back in and have a thinner yogurt, or pour it off. I pour it off and use it for various things--bread, plant vitamin water--as read from The Prairie Homestead.
After we eat breakfast, I simply pull out my canning jars and funnel and store the leftovers in the fridge. 


Girls' Guide said you can add flavoring into the milk when you're heating it, such as fruit purees, honey, jam, etc. I haven't tried any of that. I keep my yogurt plain because I use it in cooking--in my pizza dough, smoothies, as a sour cream substitute, etc. I've also taken this batch of yogurt and strained it through a colander and kitchen towel over a pitcher (I'll have to make a post for that too, I guess) to make ricotta cheese for lasagna. Plain works best for me, and I may never experiment with flavors. Unless you ask me to. Then I will. Because I'm an experimenter.

I think that covers everything! Shoot me any questions if anything was unclear. I still have severe Mom Brain, so I'm crossing my fingers that this works for those who asked for it!

UPDATE 3/24/2018: I don't think I've ever mentioned, but I make soy yogurt. We have dairy allergies, so I make our yogurt with soymilk. 8th Continent, Kroger, and Great Value brands work well for me. Silk sucks. It just turns out awful every time.

Thursday, June 9, 2016

Update: Green Onions

And they just keep growing! This is just so fun for me to see the progress every time I step out into the garden.


See the original post here.

Bug Spray + Sunscreen

I made my own bug spray last summer and we all loved it. I don't have a sense of smell but everyone who got a whiff of this stuff complimented me on it and asked for my recipe. This year I'm making it again and have changed the recipe a little bit. I read about essential oils that have natural SPF so I bought carrot seed oil and added that to my bug spray for a combination spray bottle.

Essential Oil Bug Spray and Sunscreen

5 drops lavender oil
5 drops peppermint oil
15 drops citronella oil
15 drops lemongrass oil
32 drops carrot seed oil
2 tablespoon vanilla
2 cups water

Combine all ingredients in a spray bottle. Shake well before using.


(I found my lemongrass oil after I took the pic)

Wednesday, June 8, 2016

Creamy Homemade Tomato Soup

The soup recipe is so easy to make! Most of my kids love it and drink it with a straw because it's easier than a spoon. I compulsively by one pint of half and half every time I go to the grocery store.


CREAMY TOMATO SOUP adapted from some cafe in Oklahoma


Ingredients:
2 - 15 ounce cans tomato sauce
1 - 15 ounce can diced tomatoes
1 pint half and half
2 cups water
3 teaspoons basil
2 teaspoons minced garlic
1/2 teaspoon white pepper

Combine all ingredients in a large pan over medium Heat. Do not boil. Transfer ingredients to blender or use immersion blender to blend and combine all together. Serve with grilled cheese.

This is my $2 garage sale hand immersion blender. I also bought this one for a soup-obsessed friend who didn't even know these exist! Her life is so much easier now!


Yum! My one-year-old can't contain herself when she sees this soup!

Puzzle Storage Solution

Kid puzzles drive me nuts. They never stack well, they get thrown around on the shelf, and never seem to be where they're supposed to be.

So I saw this cool little tip on Pinterest to cut the picture off the cardboard box, then put it in a ziplock bag, put the puzzle in the bag and ditch the rest of the box. The puzzles can then all fit into a crate or fabric basket and they take up a lot less space!

Before:


After:


I left the floor puzzles in their boxes because the pieces are so big and heavy. But all the other puzzles got chopped and bagged. For me, having 5 kids under the age of 6, it's the little things that make big differences in my life!